I want to convert videos to iTunes, who can help?
When it comes to converting videos that can be played on iTunes, Apple says that any format that can be played on QuickTime is supported by iTunes. The common video formats that are supported by iTunes and QuickTime is MP4, MOV, and M4V. This means that your files with these extensions will normally play on iTunes. There are a number of converters available online, but what is one of the most popular and the best choice for converting videos is UniConverter.
Best iTunes Video Converter - UniConverter
With the UniConverter, you’re not just limited to converting files that are compatible with iTunes. There are more than 150 formats that are available. This is great for any additional devices that you may have or that may acquire in the future. And the software is constantly updated, whenever new formats are discovered.
UniConverter - Video Converter
Get the Best iTunes Video Converter:
- Even with the many formats to choose from, there is no loss in the quality of any file that you convert. This means that your HD videos will maintain their quality.
- Besides the many video format options, there is also the option of extracting the sound from your videos.
- You will be able to download videos from more than 1,000 websites, such as Facebook, Vimeo, and YouTube.
- Each of these video sources can be converted to the formats that are supported by iTunes.
- This program delivers one of the fastest conversion processes, with the Intel and NVIDIA GPU hardware acceleration.
- Compatible with Windows 10/8/7/XP/Vista, macOS 10.12 Sierra, 10.11 El Capitan, 10.10 Yosemite, 10.9 Mavericks, 10.8 Mountain Lion and 10.7 Lion.
Step-by-step guide to convert videos to iTunes or convert iTunes videos to other formats
Step 1: Add Files
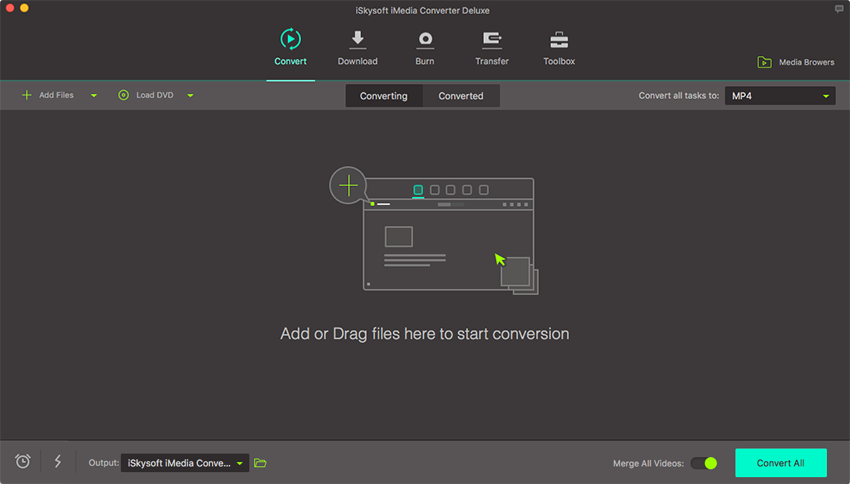
When it comes to uploading videos onto the program, one of the easiest ways is grabbing the video from its current location and dragging it onto the screen of the program. If you have multiple videos that you would like to convert, you can grab an entire folder and drag it onto the program’s interface. There is always the option of manually searching for the files as well.

Step 2: Select Format
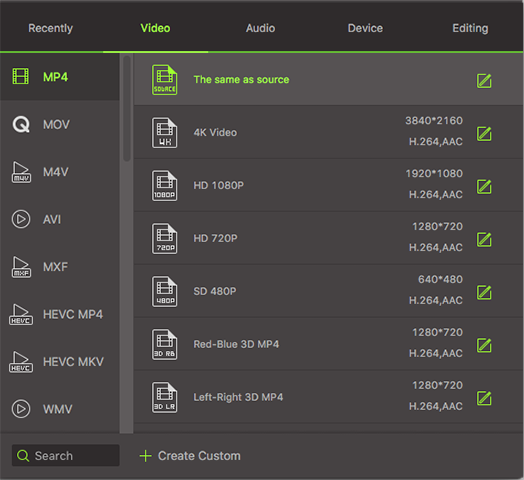
First, click the “Format” icon that will open a list of the format options that are available. The list of icons will represent the various formats. Here you should choose iTunes supported format such as M4V, MP4, etc. If you want to convert iTunes videos to other formats, just select the wanted format from the format tray. Once you have your format, a Gear button will appear that allows you to customize your format.

Step 3: Convert
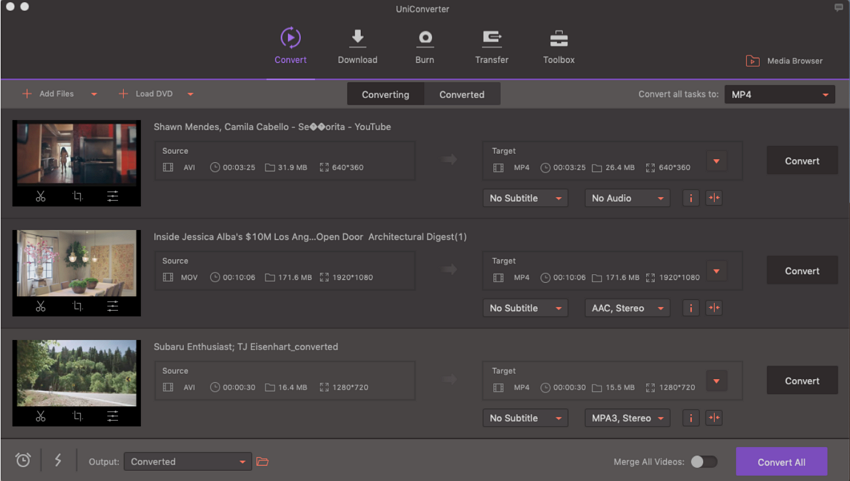
The next option is to select the output, located at the bottom of the screen. By doing this, you are choosing which folder you want to have your converted file saved to. Afterwards, you can click the “Convert” button and begin the conversion. As your file is being converted, the status of the conversion is located next to the file. This allows you to observe the process and estimate how much time is remaining for the file to be converted. If you choose not to watch the file be converted, there will be a message that alerts you, after the final is complete. There is also an option to have the designated folder opened, after the file is converted.

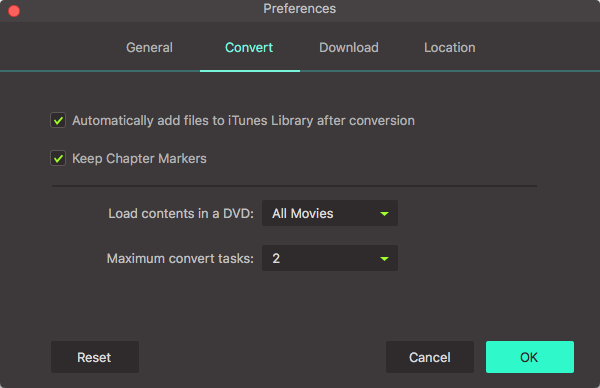
By the way, if you have chosen iTunes supported format as the output format, the converted video will be added to iTunes Library automatically.


