With QuickTime installed, you may already have lots of QuickTime files stored on your Mac running macOS Sierra, El Capitan, Yosemite, etc. And you can use QuickTime Player to publish your media to MobileMe without worrying about formats or resolutions. But sometimes there would be some hurdles to upload them to websites such as YouTube, which may be due to the file size, maybe other detailed figures of the files. Anyway, no matter what the reason is, the article would help you to solve it by converting QuickTime file to YouTube file with an expert program.
Most Effective Tool to Convert QuickTime to YouTube on Mac
UniConverter is a professional Mac program which is good at Mac conversion. And it even enables users to upload the files to YouTube directly after the QuickTime to YouTube Mac conversion. In addition to the conversion function, it offers some wonderful and useful edit functions such as adding video effects, adding watermark etc. to the original files to make them more interesting.
UniConverter - Video Converter
Get the Best QuickTime to YouTube Video Converter:
- Convert 150+ video and audio formats – UniConverter is a powerful tool that can convert over 150 video and audio formats.
- . Convert at high speed – this tool works with speeds of up to 90X, which is the fastest as yet.
- Keep the quality – you will maintain the quality of the video when you use this versatile tool.
- Download from the Internet – you can get videos from the internet to use in your production through direct download with this tool.
- Inbuilt video editor – your projects do not have to be bland since you can add special effects with this tool. Text and watermarks are just a few of them.
- Send to several output devices – you can burn your videos to DVD, or send them to the Internet. You can also write them to your hard disk, iPhone or iPad.
Simple Guide to Convert QuickTime Videos to YouTube with iSkysoft
Step 1. Add QuickTime files to this QuicTime to YouTube converter
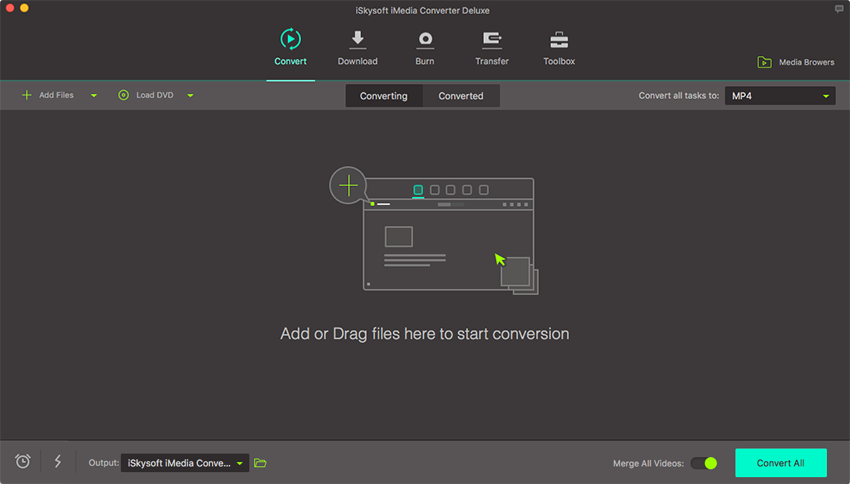
With the QuickTime to YouTube Mac converter, you can go to "File" > "Load Media Files" and navigate to the files you want to add, or directly drag the source QuickTime files to the Mac app.

Step 2. Set a YouTube compatible output format
There are two options for you to finish the Mac conversion:
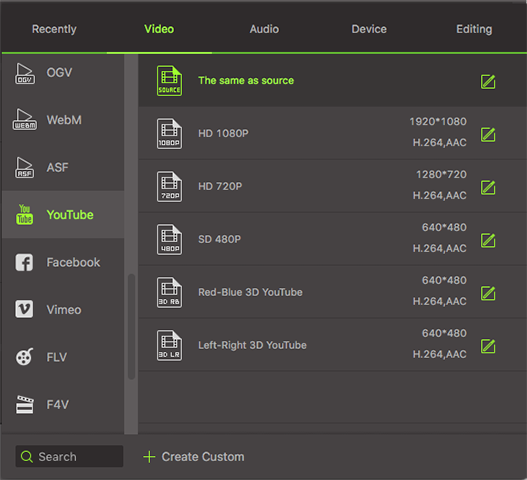
1) If you just convert the QuickTime videos to YouTube compatible files and don't want to upload them to the web immediately, go to "Video " category and select "FLV".
2) If you want to do the conversion and upload video to YouTube later, go to "Web Sharing" category and select "YouTube".
You can choose a destination to export your files with the "Ouput" option at bottom. Othewise, the default folder will be used.

Step 3. Start QuickTime to YouTube Mac conversion
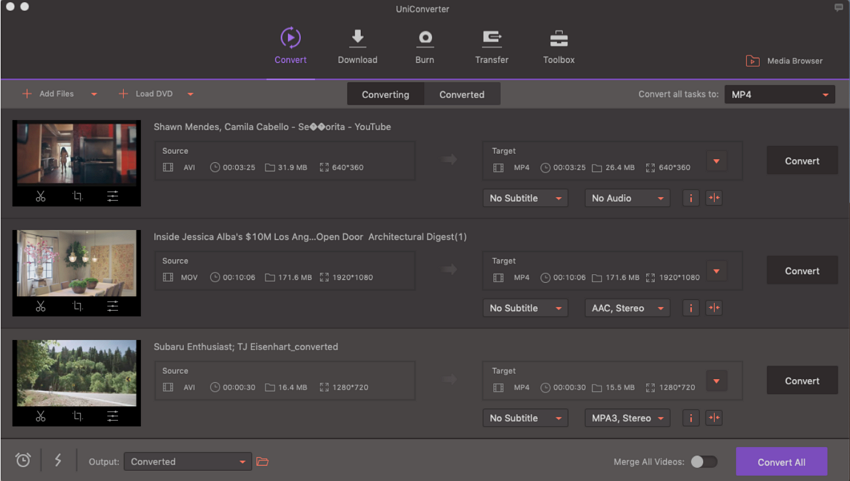
Press the button of "Convert" and let this smart Video Converter for Mac do the rest for you! This QuickTime to YouTube converter works on MacBook, MacBook Pro, MacBook Air and iMac with macOS Sierra, El Capitan, Yosemite, Mavericks, Mountain Lion and Lion. When finished, the output folder will open automatically.

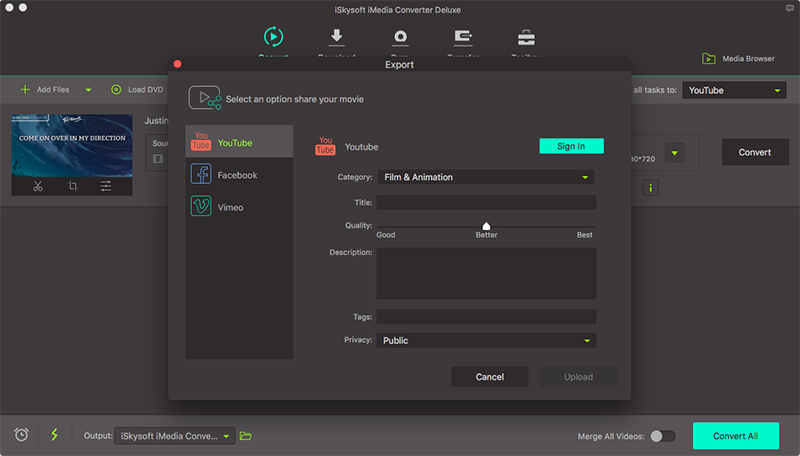
In fact, UniConverter enables you to directly upload QuickTime or any video to YouTube on Mac. After importing your QuickTime movies, please go to the "Export" menu then choose "Uploading to YouTube". Now you can log into your YouTube account to upload QuickTime videos as you want.


