To enjoy QuickTime files on iPad (iPad Pro, new iPad included), you actually needn't do much thing, because QuickTime files are mostly in MP4, MOV, M4V encoding with H.264/MPEG-4 codec which are fully accepted by new iPad. So while your QuickTime videos are refused by iPad, your files then might be in other formats such as DV. In case like this, you need to change these unaccepted QuickTime files to iPad files. And the following paragraphs would show you how to convert QuickTime to iPad on Mac step by step.
Most Effective Tool to Convert QuickTime Files to iPad on Mac (Including macOS Sierra)
If you have bought QuickTime Pro, you could directly convert QuickTime to iPad with its conversion function. Well, if you haven't updated to QuickTime Pro, I highly recommend to you another professional yet easy-to-use Mac converter to do the conversion. This UniConverter for Mac is the best alternative to QuickTime Pro for it: is at a afforadable price; has a fast conversion speed; supports a wide range of file formats; has optimized presets for iPad; allows users to edit files by cropping, trimming, and merging several videos into one.
UniConverter - Video Converter
Get the Best QuickTime to iPad Video Converter:
- Professional Multimedia Expert: UniConverter is an all-in-one video converting tool which works as a downloader, converter, player, DVD burner and editor.
- Compact Multimedia Solution: Supports more than 150 videos and audio codecs to provide awesome movie experience.
- Unique Range of Editing Tools: Add special effects, trim, crop, adjust video quality and many other options.
- Stream Videos with Ease: Download and convert videos from any video sharing website and convert it into any supported format for smooth streaming or playback options.
- Burn DVD: Easily burn videos to DVD or convert DVD files from hard drive and play it in your iPad or Apple TV with intact quality of the video.
- Compatible with macOS 10.12 Sierra, 10.11 El Capitan, 10.10 Yosemite, 10.9 Mavericks, 10.8 Mountain Lion and 10.7 Lion.
Detailed Guide to Convert QuickTime Files to iPad with UniConverter for Mac
Step 1. Import Files
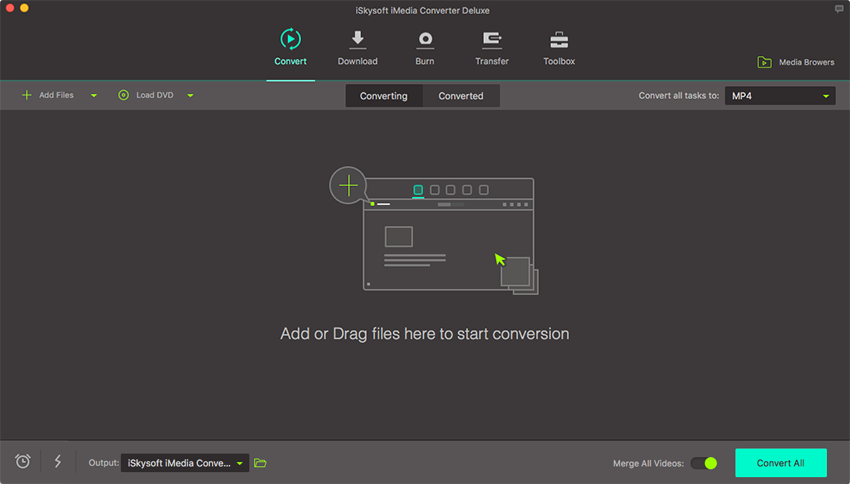
Just directly drag and drop the QuickTime files to the program, or head to "File" > "Load Media Files" to load the source QuickTime files. The task can be operated on macOS (including Sierra).

Step 2. Set Output Format
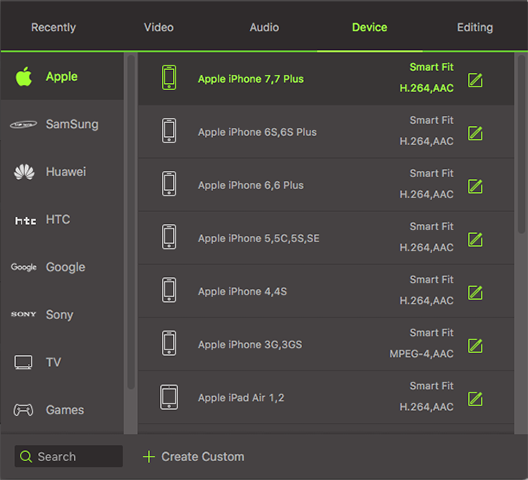
The product is specially designed for iPad, so you can choose "iPad" as your output format directly. Or you can just select the format according to the device name. The iMedia Converter will automatically set the appropriate file format, bit rate, and resolution for the selected target device.

Step 3. Start Conversion
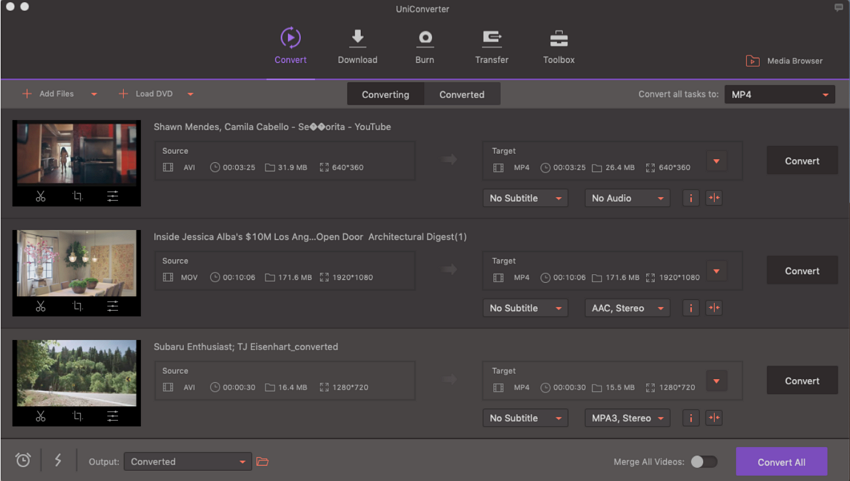
Click the "Convert" button, and just leave the Converter to do the rest for you automatically.


