In video editing on Mac, iMovie works like a charm, doesn't it? With the support of camcorders, iMovie is available for importing camcorder video shots into for editing directly. And to import video from camcorders into iMovie (iMovie 11 included), read on this tutorial.
First of all, make sure your camcorder is listed in the compatible camcorder list of iMovie, then:
Part 1: iMovie Can Recognize your Camcorder
Step 1: Connect your camcorder to Mac.
Step 2: Set your camcorder in PC or computer mode.
Step 3: Generally speaking, iMovie will launch automatically and an import window will pop up to ask you to import your cam videos. Occasionally, a DVD based camcorder will launch the Apple DVD Player automatically, it's fine, close it before continuing. If the video editor for Mac didn't opened, open it manually.
If you want to import your video from a Tapeless Camcorder like DVD based camcorder, you may see your clips presented in the import window, set the switch at the bottom left corner of the window to Automatic and click Import All, and if you switch to Manual, you can deselect some clips you don't want to use and click Import selected.
If you want to import video from a DV or HDDV, a single view window will appear. To simply import the DV video into your iMovie, you can set Automatic mode, then click Import. After that, iMovie will automatically import your DV video into. On the popup window, you can customize the destination to the main drive of your Mac or the Firmware drive connected to the Mac. Rename the event and set the video resolution for importing. It's possible for you to import the video clips into an existing event. Click OK.
Part 2: iMovie Can't Recognize your Camcorder
It means the video formats your camcorder uses to save your shots are incompatible with iMovie. To import these camcorder videos into iMovie for edit, you are required to convert the camcorder video to iMovie video first. UniConverter is a fantastic tool that can be used to convert videos into several format and then imported into iMovie for editing. With this tool, you can simply bring files from a camcorder and convert them, without losing any quality, and edit them on iMovie. The conversion is fast and perfect. This is the best tool for converting video in the market today.
UniConverter - Video Converter
Get the Best Camcorder to iMovie Video Converter:
- Converts 150+ video and audio formats – this is the most powerful features of this tool. You do not have to look for a variety of format-specific converters.
- It works very fast – this is another powerful features, where it converts video and audio at speeds of up to 90X.
- No loss in quality – if you thought that fast conversion means loss in quality, you do not have to worry about that when using UniConverter.
- Internal editor – the inbuilt editor can be used to edit your camcorder videos before you convert them to iMovie.
- Video Creator - you can burn videos to DVD or copy DVD files as backup.
- Video downloader - it can act as a video downloading tool to help download online videos from YouTube, Facebook, Vimeo, Dailymotion and other 1,000 sites.
Step-by-step Guide to Import Camcorder Files to iMovie for Editing using iSkysoft
Step 1. Connect the camcorder
Using a firewire cable, connect the camcorder to your computer and wit for the files to be visible in the explorer.
Step 2. Load the video files
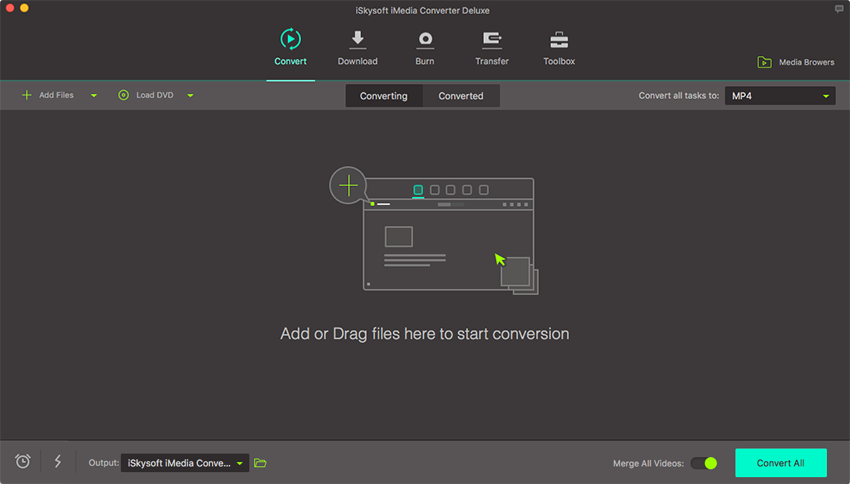
Drag your camcorder files to your converter. You can also use the "File" > "Load Camcorder Files" function and select your files.

Step 3. Select the output format
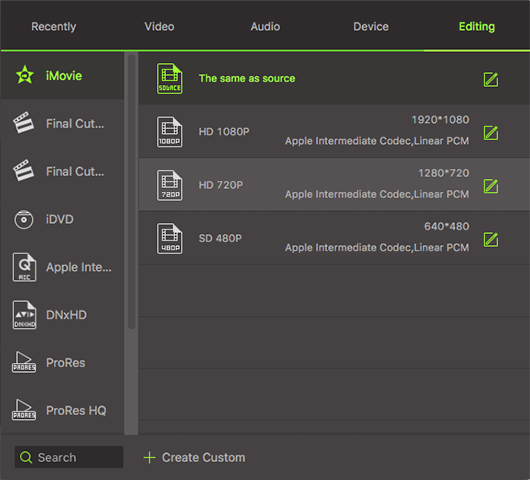
Select "iMovie" as the format that you want to convert your videos to.

Step 4. Convert your video
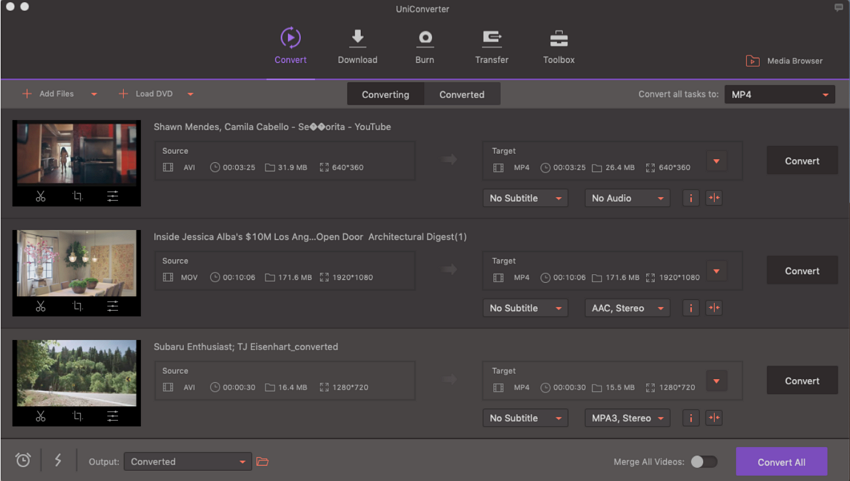
Hit the “Convert” tab and let the video be converted to iMovie supported format.

Step 5. Import the files to iMovie
Import the files into iMovie and edit them for your project. o


